Origins
Many adventures have humble beginnings. This one is no exception. As a middle schooler, I got into the giant robot kick while watching Gundam Wing, which is fairly common among giant robot lovers in my age range. Of course, when shiny Gundam Wing model kits started being released, I had to have one. Not knowing anything about modeling or even much about Bandai's line of Gundam kits, I ended up buying several 1/144 scale kits. These things weren't the nicer High Grade kits I would later become accustomed to. I'm honestly still not sure what they're called...No Grade? First Grade? Crap Grade?
Anyway, so I forced the parts out of the parts tree, snapped the suckers together, and lo and behold, they looked like disappointing plastic pieces of crap that vaguely resembled the cool picture on the box. These debacles were nubby, unpainted, and falling apart, and it would be a while before I tried a kit again. I wish I had a picture of one of these things. I guess as a kid, I guess I missed the point of modeling. If you wanted to buy a cool toy, buy a figure. Modeling is a whole different ballgame.
 |
| Not one of my creations, but it's an abomination for sure. |
The Fool Journeys Onward
In high school, I tried my hand at a couple of High Grade kits, mostly UC stuff as I moved away from Wing. They were much better than the travesties I had assembled years ago, but I still didn't have much in the way of technique. I think I would get excited and hurry through things, resulting in slightly better nubby debacles than before. I don't think I was quite ready to invest time and money into Gunpla as a serious hobby, though my endeavors led to a few cool models that I wasn't ashamed to display on a shelf in my room.
In college I didn't really invest much into Gunpla. When I moved away from my hickish hometown to Little Rock, I was at least able to visit hobby stores, where I finally bought a pair of nippers with which to cut out parts. This drastically reduced nubbiness. I ended up buying a MG Acguy. It was my first MG kit, and it was a great experience, though I still had markings from using the nippers really close to the parts themselves. I guess I was too dumb to look at a beginner's guide to Gunpla. I probably thought I didn't need one since I had done these before. Foolish. At least I was improving little by little.
Trial and Error
I don't know why I often insist on winging it until I make a mistake. Trial and error is really a poor way to learn something quickly. During Round 2 of college, I finally decided to get serious about my modeling endeavors, so I loaded up on supplies from Hobby Lobby, made a few online orders, and I was soon back into Gunpla. I finally decided to utilize paint, a modeling knife, and various other tools. Why I didn't sooner is anybody's guess, really.
The first kit from my renewed modeling adventure actually wasn't from a Gundam series. It was an HG Dunbine since I am rather fond of both the design and the show itself. I then went all-out on a somewhat painful 1/100 L-Gaim kit, followed by a HG Gaplant, a HG L-Gaim, and an HG Aug. The following are some of the things I have pondered, tried, debated, learned, and not learned during the course of building these kits.
Should I Go All Out?
When it's time to get serious about Gunpla, does it mean that you have to go out, buy an air compressor, a spray booth, and 15 types of chemicals? Not at all. There are some advantages to investing in some awesome tools, as they often allow you a wider range of effects and options for making a truly dynamic and epic-looking model.
There are some people that go all out on this stuff, and don't get me wrong, they make a magnificent model, but for those of us on a budget, who aren't ready for that step, or just like to do it differently, there's nothing wrong with doing it your own way as long as you put care and effort (and love?) into your work.
With that being said....
Gundam Markers?!
Yes, Gundam Markers. These alcohol-based paint markers seem like an attractive option for folks getting into building some cool robot models. When a beginner asks about whether or not to use Gundam Markers, I've seen a variety of answers, ranging from "OH GOD DON'T DO IT" to "Sure, they're okay." Honestly, from my experience, I would say the best answer is, "Well, it depends on what you're doing." Kinda vague, but I can give some examples.
If you need a wide area of coverage, don't use a Gundam Marker. They can be very useful for small detailing, though. There are really great for panel lining, which is practically a must for building a good looking model.
 |
| HG Dunbine |
For my HG Dunbine, I experimented with using Gundam Markers quite a bit. Using a pink Gundam Marker on some of the smaller parts added some great accenting, and it was quick and easy to use. Also, I used a fine, black marker for the panel lining, which looks pretty good for a panel-lining first-timer.
However, the markers were a terrible idea in some spots. Dunbine's feet were actually white coming out of the parts tree, so I used a large, black Gundam Marker for them. It was fairly awkward and time-consuming, requiring many more layers than if I had just used some actual paint. It would have been faster to just get a brush and paint the things, but at this point in my journey, I wasn't yet comfortable with a paint brush. I also decided I didn't like the clear green on the sides of the cockpit, and I wanted to make it look more like the image on the box, and so I used the black marker on that as well. What I didn't foresee is that the marker didn't adhere very well to the smooth clear plastic and ended up kinda flaky to the touch. Oops.
I now use Gundam Markers sparingly. One of my favorite uses was for my HG Aug. This kit had a shiny metallic coating, and no matter how careful I tried to be, it seemed nearly impossible not to blemish the coating where the parts were trimmed from the tree. I used a metallic gold and a metallic silver Gundam Marker to add a quick-fix touch to those spots. It wasn't a perfect solution, but it turned out much better than if I had not used them.
 |
| HG Aug. You can see the spots where I touched it up with Gundam Markers. Not awesome, but not the worst fix. |
HG vs MG vs Whatever Else
Another thing I had to settle on was choosing between High Grade kits and Master Grade kits. HG kits are usually pretty solid in terms of articulation, are about the size of a typical action figure, and are pretty affordable, usually in the $15-$30 price range. MG kits, on the other hand, are bigger, have better articulation, and come with cooler decals and effects parts. They are also quite a bit pricier than HG kits, costing in between $40 and $60 for the average MG kit.
Right now, I prefer HG kits for a number of reasons. It seems like more of a challenge to get them looking awesome, so they appeal to the part of me that wants to improve my skills. They are also pretty cheap, so if you mess up by breaking a part, botching the paint job, or some other mishap, it's not really a big deal. Their size is also good for me at the moment. If I had a ton of MG kits to display, I would quickly run out of shelf space in my room.
 |
| HG L-Gaim with heavy pearl coating. |
However, MG kits are a blast to build, especially if you are interested in the inner workings of these robots. They really give you an intimate look at how these machines are built, and of course, you have the cool part effects and decals. At their price, I would be afraid to mess things up, so I would have to get a little more confident in my modeling abilities before I get some more MG kits.
Of course, there are also Perfect Grade kits, which are huge (usually 1/60 scale), absurdly detailed, and expensive. I have not had the pleasure of building one of these beasts. Maybe some day... There is also the newer Real Grade kits, which provide a nice balance of size, articulation, and detail, though I haven't built any yet.
Painting with Acrylic vs Enamel
When I got more serious about Gunpla, I opted to use paints and brushes as opposed to investing in an air compressor. As mentioned before, I wasn't confident in my painting skills, which is why I tried the Gundam Markers. I had always sucked at painting, so I was leery of messing up my models. Trying the brushes was a good idea in the long run, and it doesn't take long before you get used to being precise with them.
With paints, you have a couple of choices, including enamel, acrylic, and lacquer. With my HG Dunbine, I tried some acrylic brown paint just for the wings, and I was really pleased with how it turned out. At first, I used thin tape to section off the parts I was painting, which kinda turned out to be a waste of time as I learned how easy acrylic paint is to fix. If you mess up, a lot of times you can just scrape some of the excess off with a modeling knife or even your fingernail, depending on how precise you need to get. In addition, it doesn't take much effort to clean the brushes afterward. Even though it's easy to apply and fix, it adheres to the plastic much better than Gundam Markers.

When I built my HG Gaplant, I decided to try enamel paints. Going with enamel turned out to be a little more work. You definitely need enamel thinner/brush cleaner on hand. When enamel paints dry, they dry hard. As such, fixing mistakes becomes a little more of a chore than with acrylic. Another thing to consider is the shelf life of enamel paints. It may only take a few months for a little bottle of paint to harden up on you, but then again, hobby stores sell them in really small bottles for pretty cheap.
Enamel paints create a nice, solid look and often have a nice sheen to them. Enamel also lets you rest a bit easier about protecting your paint job, as scrapes and scratches don't seem to have much effect on the paint job, which I discovered when I tried to fix a sloppy spot by scraping at it with my modeling knife.
Between the two, I think I prefer acrylic paints, but it may just boil down to whatever my mood is or whichever I think would look better on the model I'm currently working on. I haven't had a chance to mess with lacquer paints yet.
Top Coat Stupidity
A nice top coat can really make a model look fantastic. It helps to take away some of that cheap, plastic look. Options range from matte to semi-gloss to gloss. I have used both matte and semi-gloss, depending on whichever I think will look better on my current model.
I have encountered one problem, though. I suck at spraying things. I never get it quite right, which is problematic when I go to apply the top coat on my models. My HG Dunbine was one of my better efforts, but if you look closely, you can see some speckling on the legs from a slightly uneven coat. Overall, it doesn't look too bad, and I really like the matte finish on it.

Afterward, I tried to make sure this didn't happen again, just to end up spraying too much top coat, which accumulates in certain spots and dries looking thick and boogery. Also, it turns out that the alcohol-based Gundam Marker paint doesn't get along well with top coat all the time. If you overdo it, the Gundam Marker will run, which can make your nice panel lines sloppier in the end.
I will keep trying to get my spraying technique down, because I really love the look that the top coat gives the models.
Doing Your Own Thing/Rolling With It
Sometimes, I decide to do something different than the instructions or normal painting scheme. I'm a bit bi-polar when it comes to HG decals. They tend toward being really shiny, which can look really out of place on a model. On my HG Dunbine, I actually opted to paint the eyes instead of using the decals because I thought the shiny, glossy look wasn't really true the Dunbine's look and might look out of place with the matte finish. (In retrospect, maybe it would made those eyes really pop. Hmm.) I also ended up using a brighter pink than in Dunbine's usual depiction. I like how it turned out anyway.
When I worked on my HG Gaplant, I got the bright idea to use black Gundam Marker on the shoulders, which after over-spraying the top coat, ran like hell. There wasn't really a good way to fix it, so I kinda rolled with it, using the Gundam Marker to continue the trail of marker. Honestly, it looks kinda bad, but in the end, it's my own unique Gaplant, I guess. The top coat also got pretty boogery in places. The good news is that I discovered while in mobile armor mode, the shoulders face the other way, so the side that isn't messed up shows. Needless to say, I like to keep my Gaplant in MA mode. (The enamel paint looks great on it, though.)
 |
| Crappy phone photo of MG Gaplant. You can see where I rolled with the marker "blood trail" |
 |
| Many of the mistakes ended up less noticeable in MA mode. |
The point is that you're gonna mess up sometimes, and if you can't fix it, you might as well roll with it. Lastly, it's your model. Customize it however you want. That's part of the fun of these models. You can really make them your own and add your own personal touch if you like.
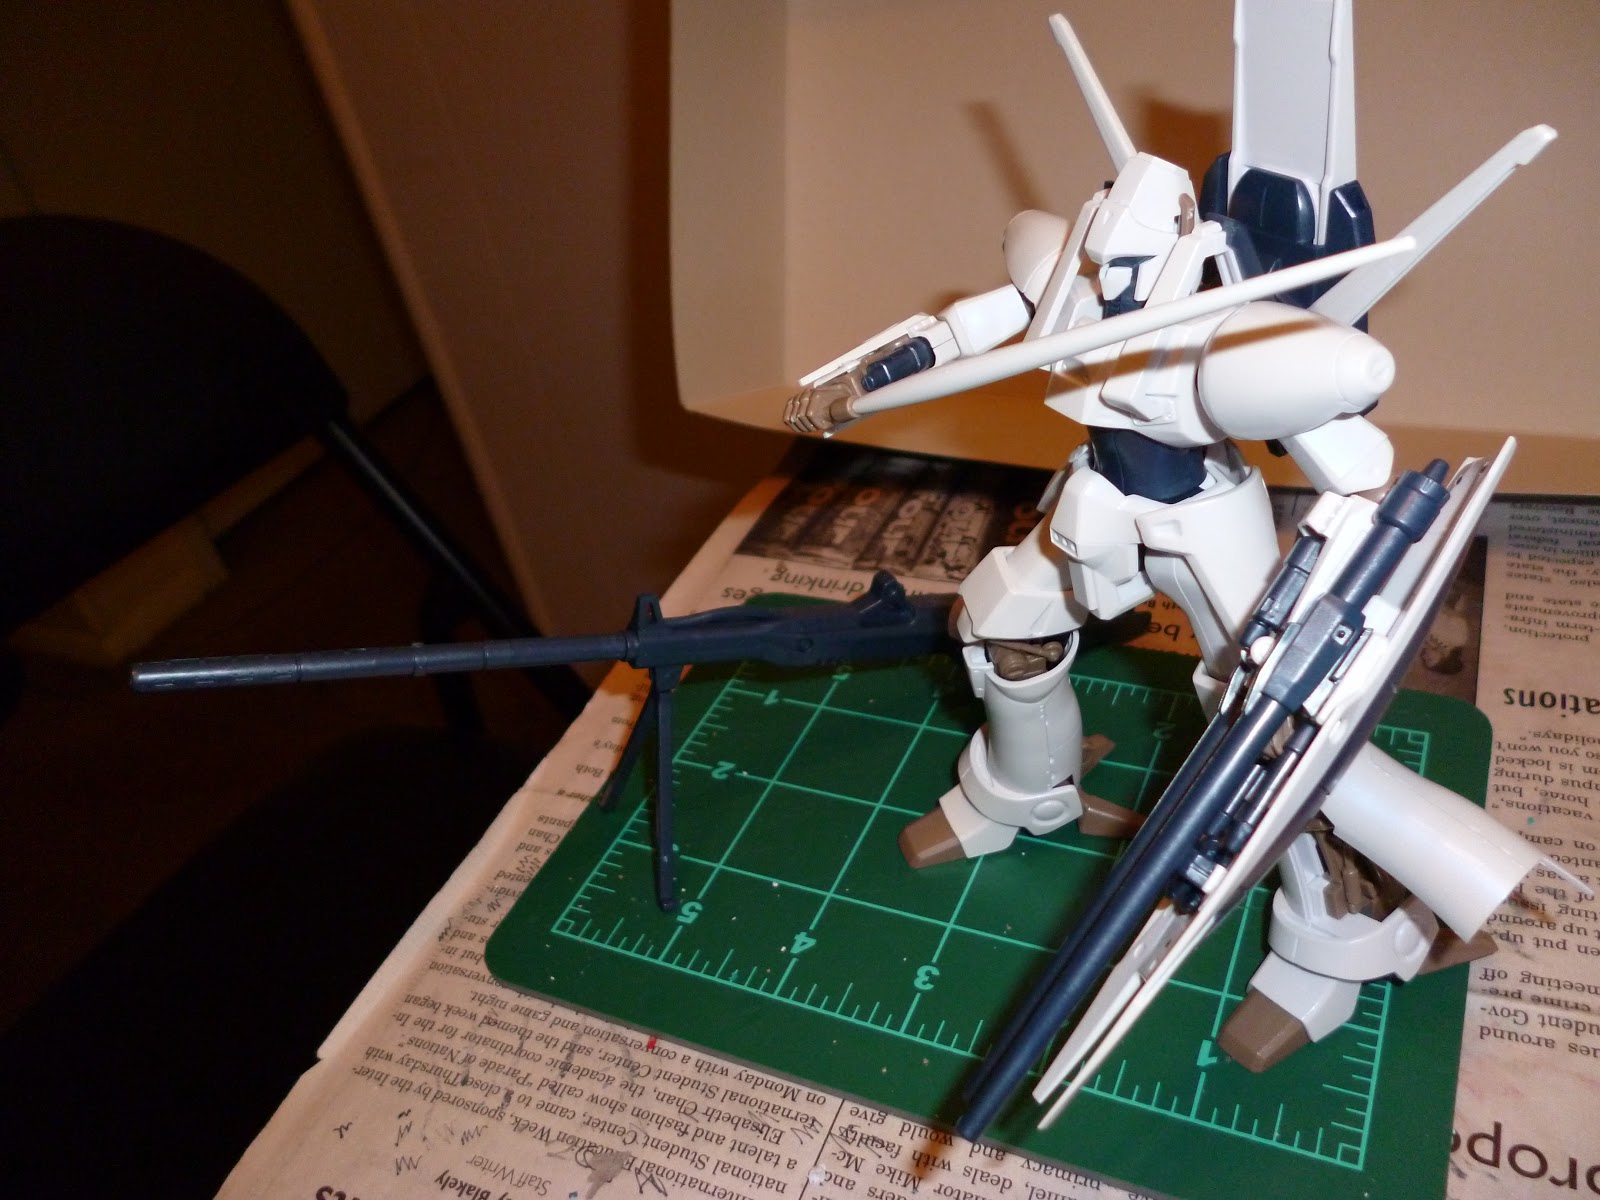
I am currently in the process of building some HG Titans kits, starting with the RMS-106 Hi-Zack. Adventures in Gunpla Part 2 is sure to happen eventually as I learn and experience more. Until then, thanks for reading the reflections and musings of a guy who attempts to build half-way decent giant robot models. Happy modeling!